Pre-Authorization Payment
Below is the process to make pre-authorization payment through PayMaster Payment Gateway.
Step 1 : Customer enters checkout details from Merchant’s site.
Customer enters checkout details required by the Merchant from the Merchant’s site. Then, customer clicks on Pay to activate the PayMaster Payment Gateway.
Image below displays a sample merchant checkout page.
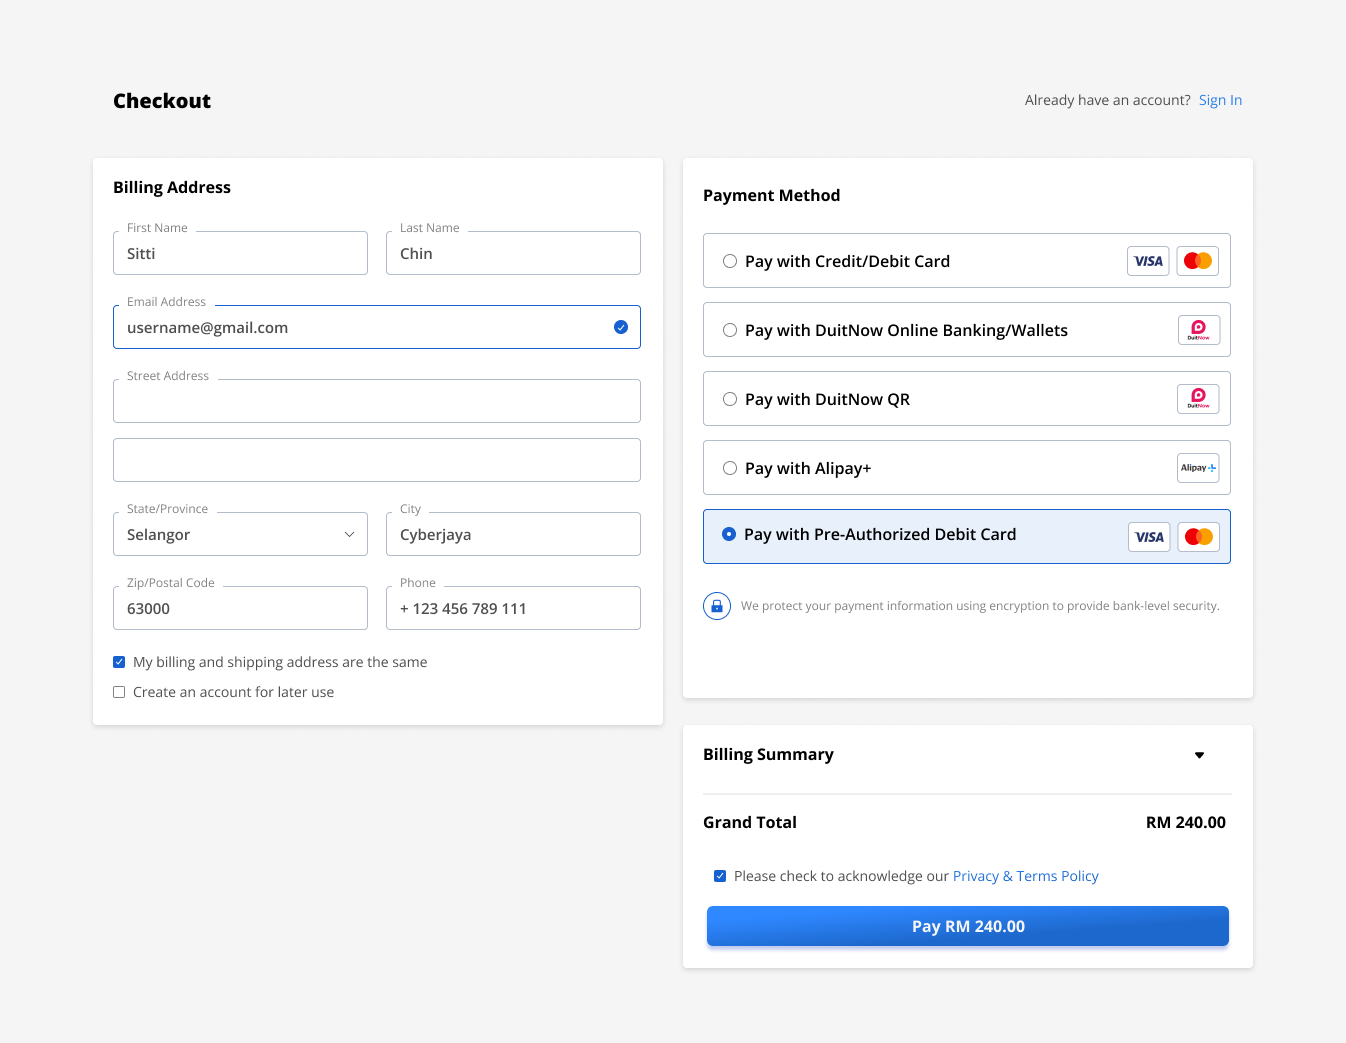
For product with pre-authorization payment option, Merchant is required to set TokenFlag = "Y" and fill in MerchUserID in the Payment Parameters. This is important to generate the Payment Gateway page with "Save This Card" function.
Setting the TokenFlg = "Y" will auto-fill the "Save This Card" function. This is important to generate a token associated to the Customer’s card.
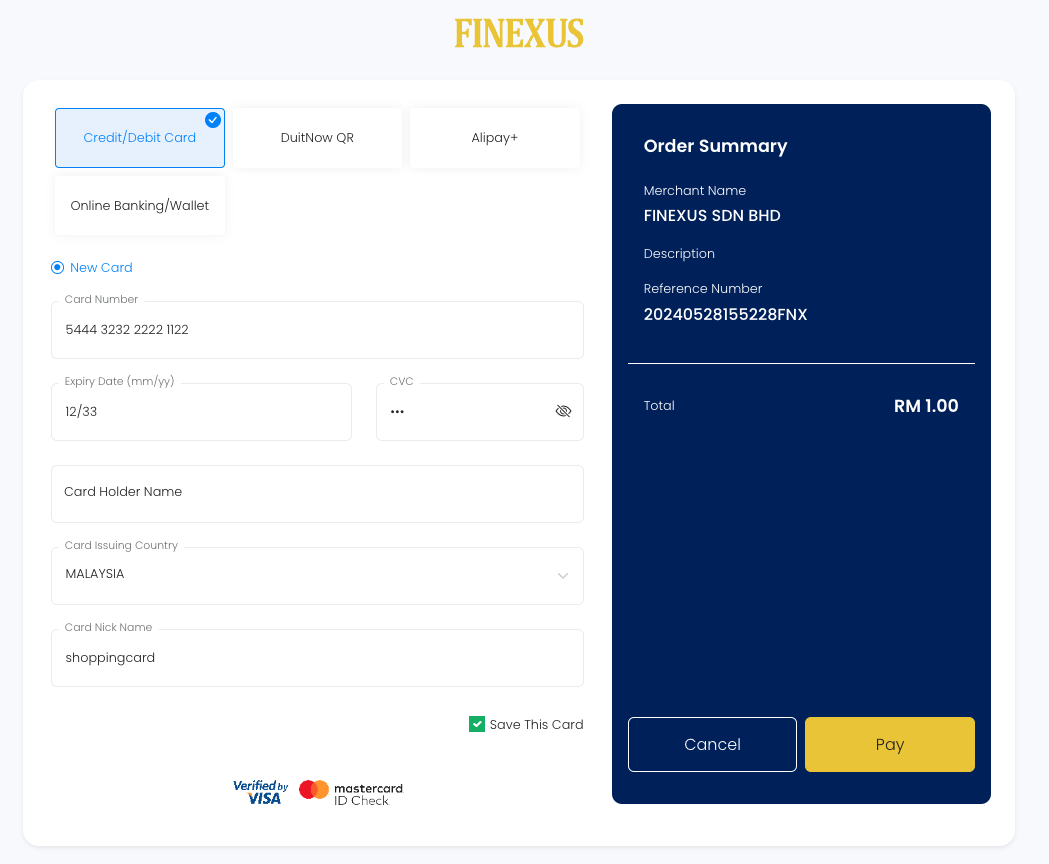
Step 2 : Customer redirected to PayMaster Payment Gateway and Submit Payment.
Customer will be redirected to PayMaster Payment Gateway and required to enter the payment details based on the Credit/Debit Card payment method. Then, proceed to submit payment.
The image below displays payment screen for Credit/Debit Card.
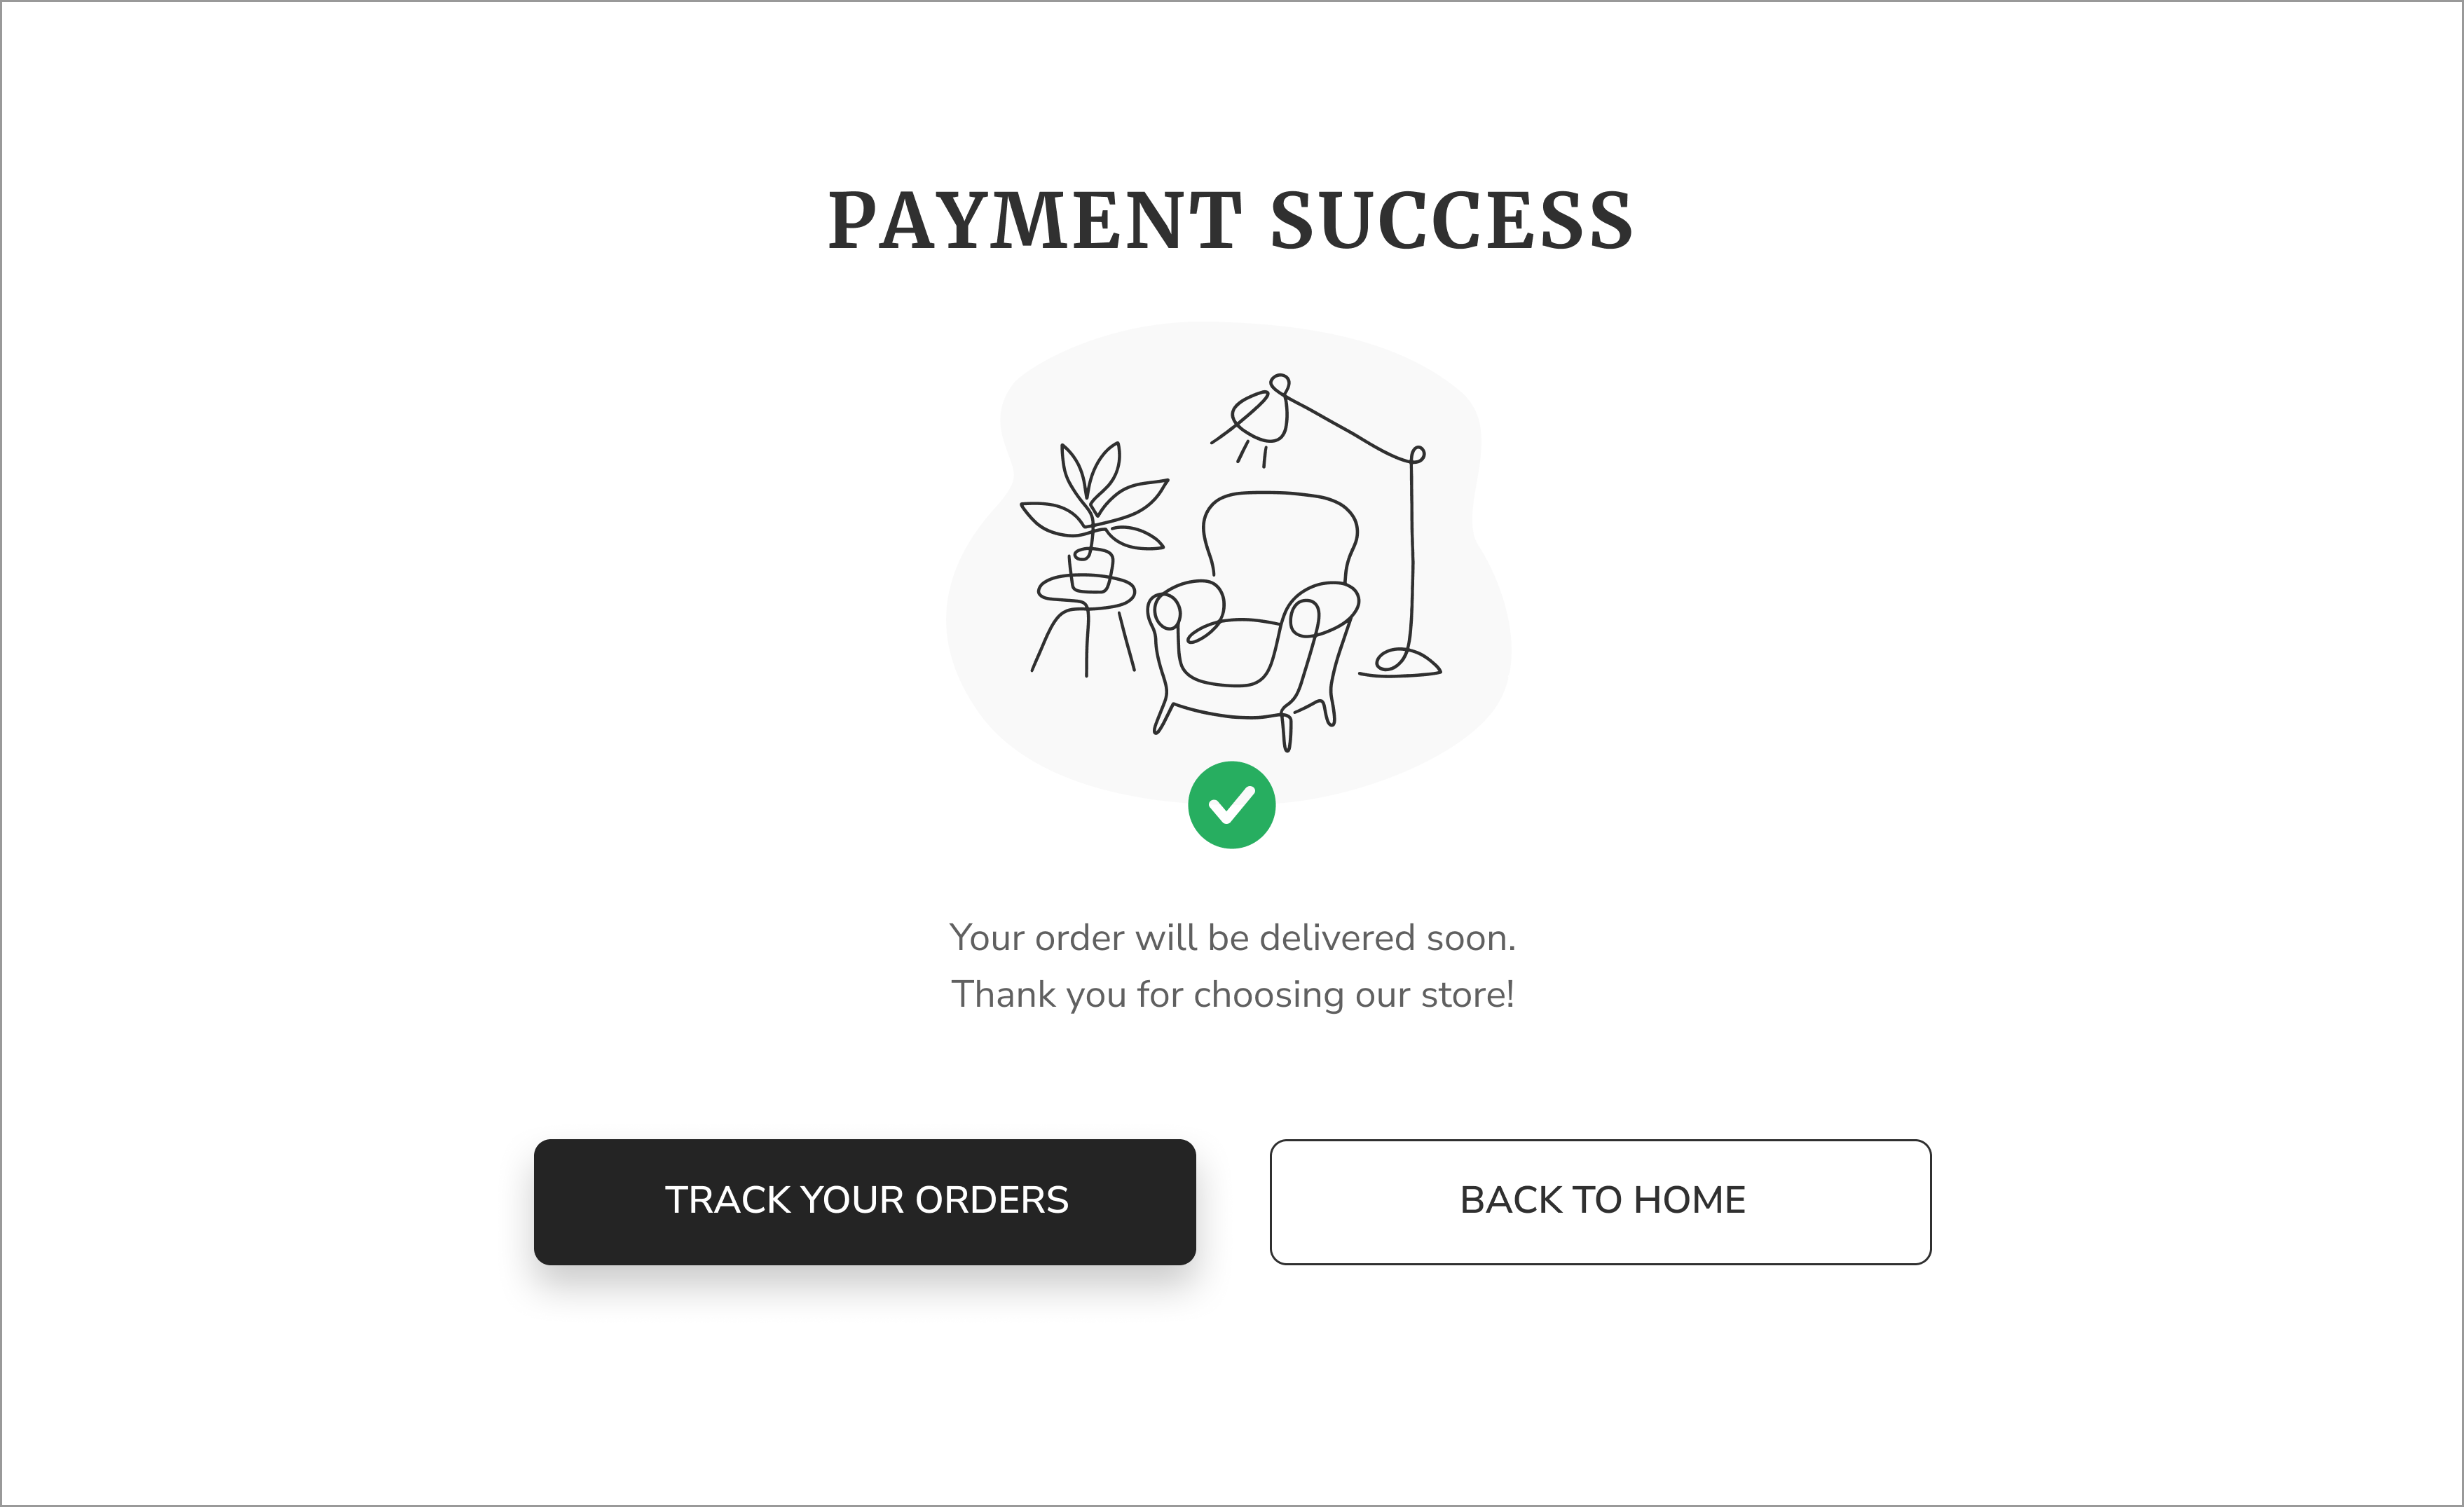
Step 3 : Customer will be redirected back to the Merchant’s site with a notification on the payment status.
After the payment is processed, customer will be redirect back to the Merchant’s site.
Step 3.0 : Sample notification screen when the payment is processed successfully.
Image below displays a sample notification screen from Merchant’s site when the payment is processed successfully.
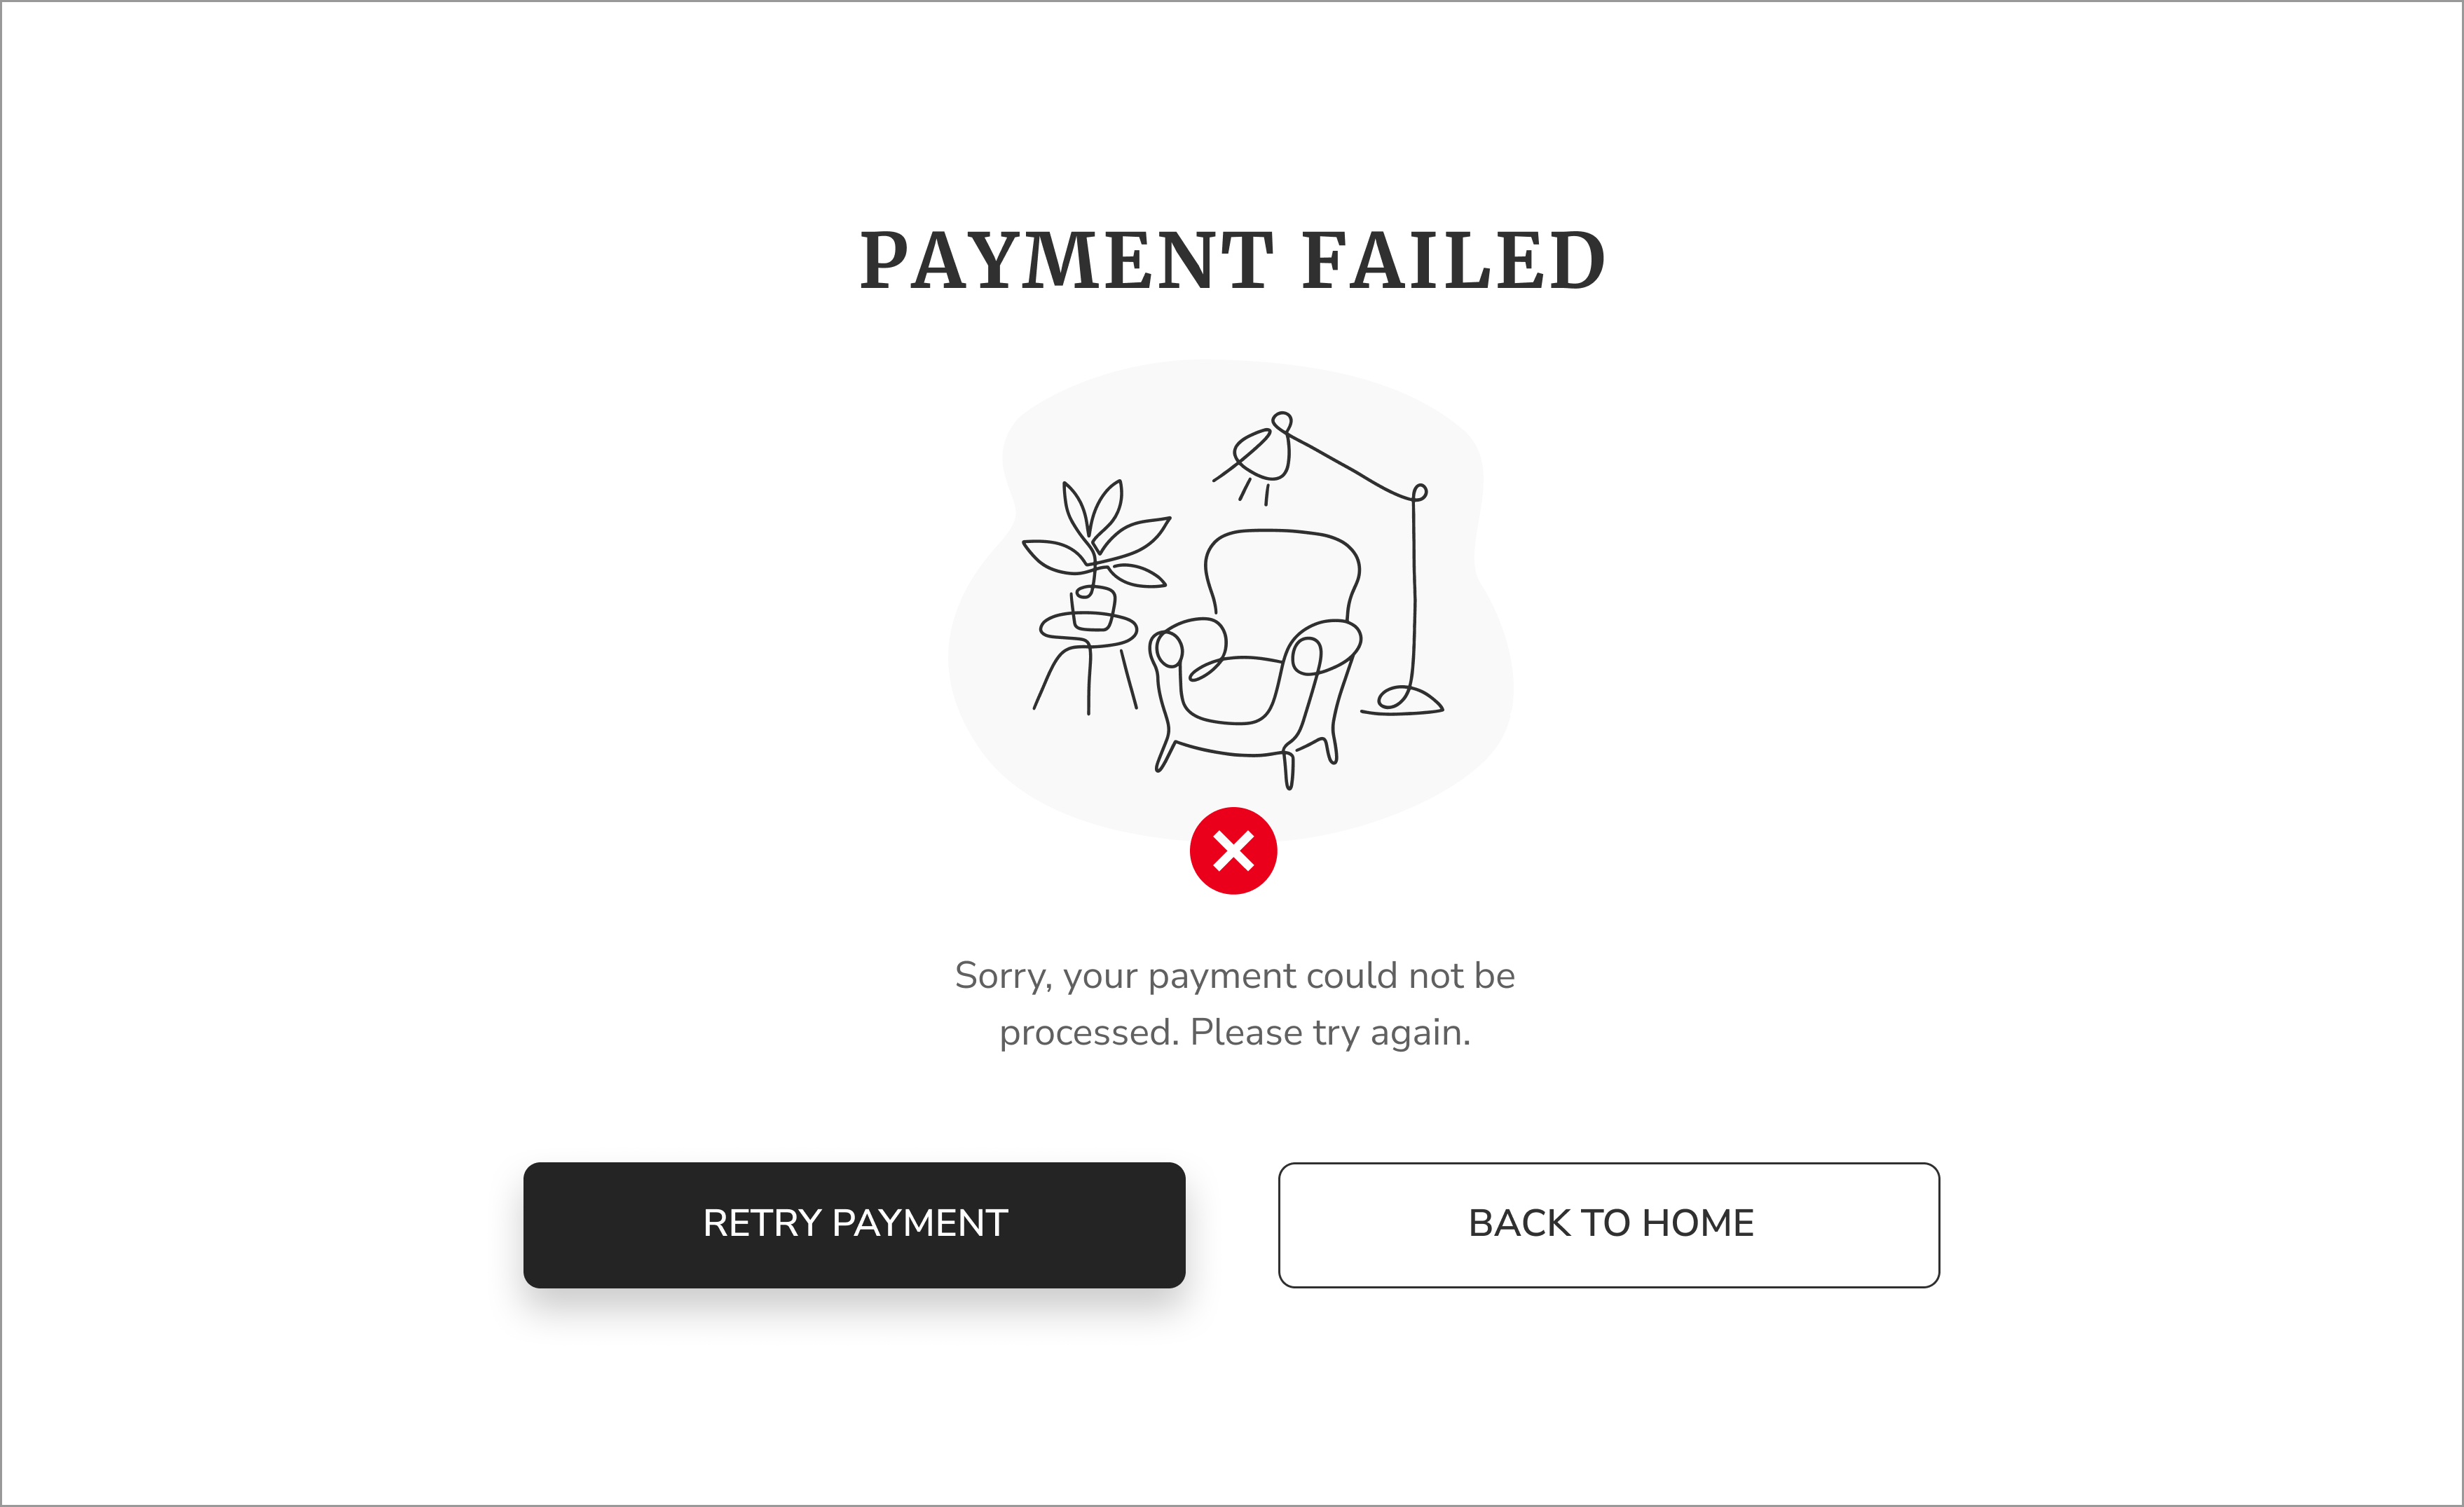
Step 3.1 : Sample notification screen when the payment is failed.
Image below displays a sample notification screen from Merchant’s site when the payment is failed.
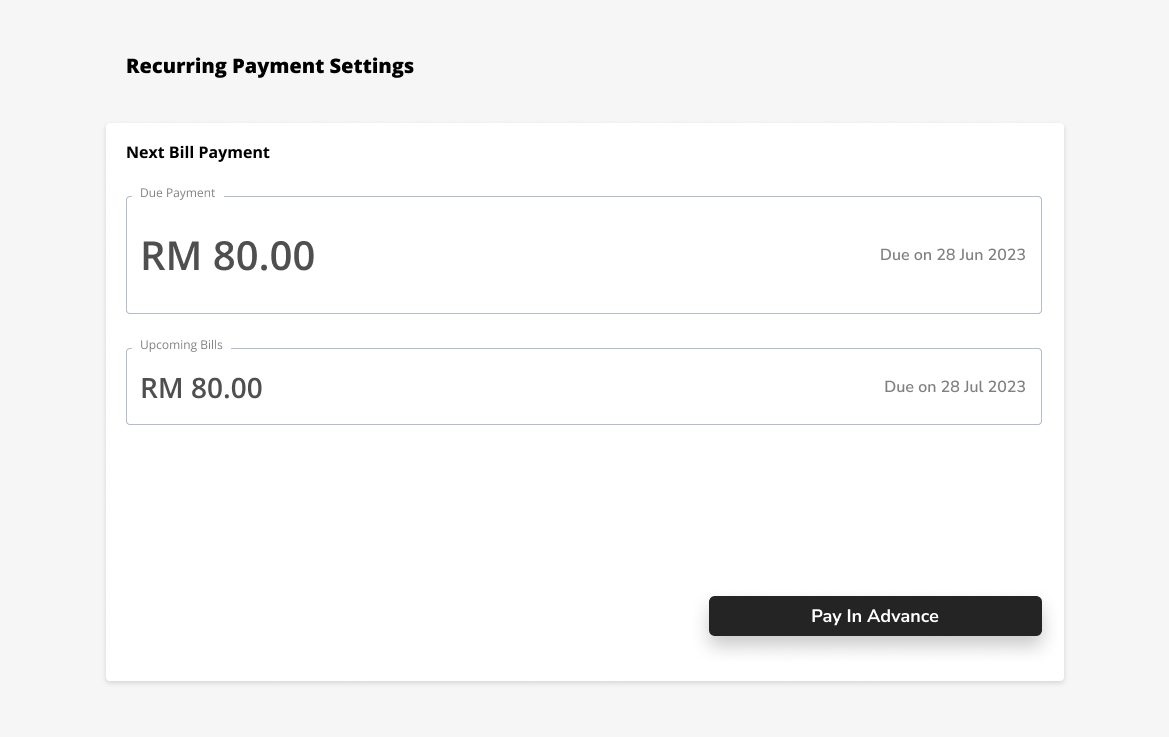
Step 4 : Merchant Set Schedule Payment.
Merchant can schedule the payment to send out the payment request when it’s due.